Repair
DIY Roof Repair Tips: Stop Leaks Fast and Save!
DIY Roof Repair Tips? So, you’ve noticed a small leak or maybe a missing shingle on your roof. Perhaps a recent storm has left some hail damage behind. DIY roof repair might just be the solution you’re looking for.
In this article, we’ll go over essential DIY roof repair tips for homeowners, helping you spot issues early and handle minor repairs to avoid bigger, costly problems.
Whether you’re familiar with roof work or tackling it for the first time, these DIY tips will help. Let’s start by exploring the benefits and drawbacks of DIY roof repairs.
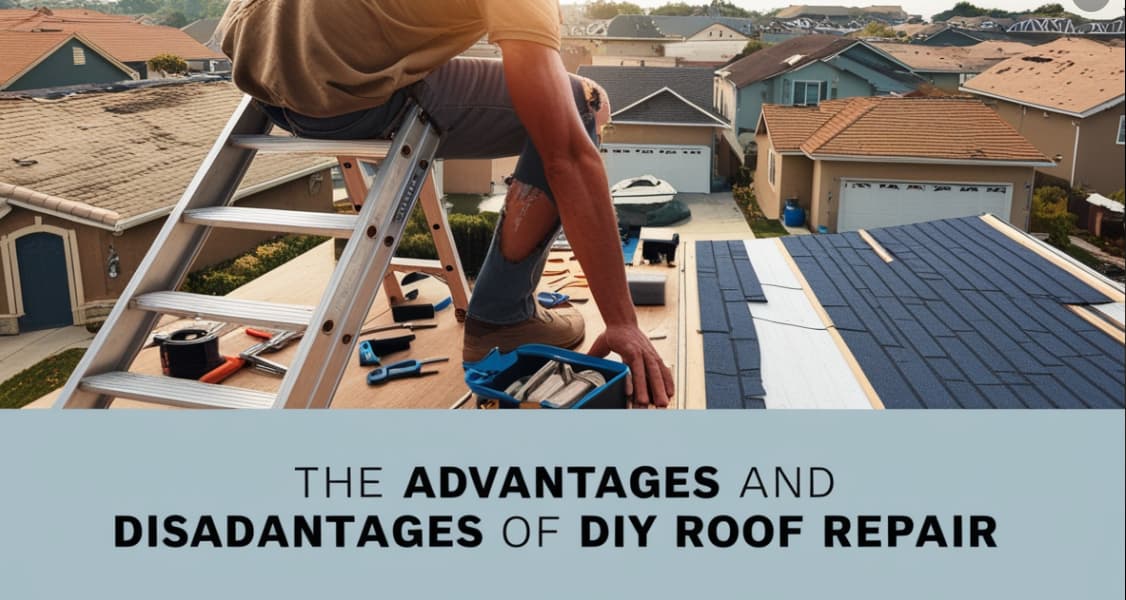
1. The Advantages and Disadvantages of DIY Roof Repair
DIY roof repair can save money by eliminating labor costs, which is often appealing to homeowners. However, consider the expense of materials and potential tools.
Pros:
- Cost Savings: You won’t pay labor costs, and only cover materials, so savings can be significant.
- Control Over Timing: DIY work lets you handle repairs on your own schedule, avoiding disruptions.
Cons:
- Time Commitment: DIY repairs can take longer, which could leave your home vulnerable if damage worsens.
- Risk of Mistakes: Incorrect repairs can lead to bigger issues. For instance, improper shingle installation can cause leaks.
- Safety Hazards: Roof repairs can be risky without proper safety gear, and falling from a roof is a serious danger.
| Factors | DIY Repair | Professional Repair |
| Cost | Lower upfront costs | Higher upfront cost |
| Timeline | Slower, fits own schedule | Quicker, based on contractor |
| Skill Level | Requires basic knowledge | Experienced, skilled team |
| Safety | Higher risk for DIYers | Safety protocols followed |
| Warranty Risk | Possible void on errors | Typically warranty-covered |
For minor issues, DIY can work well if you’re cautious. But for complex problems, hiring a professional is best. Learn more about roofing services here.
2. Recognizing the Signs of Roof Damage
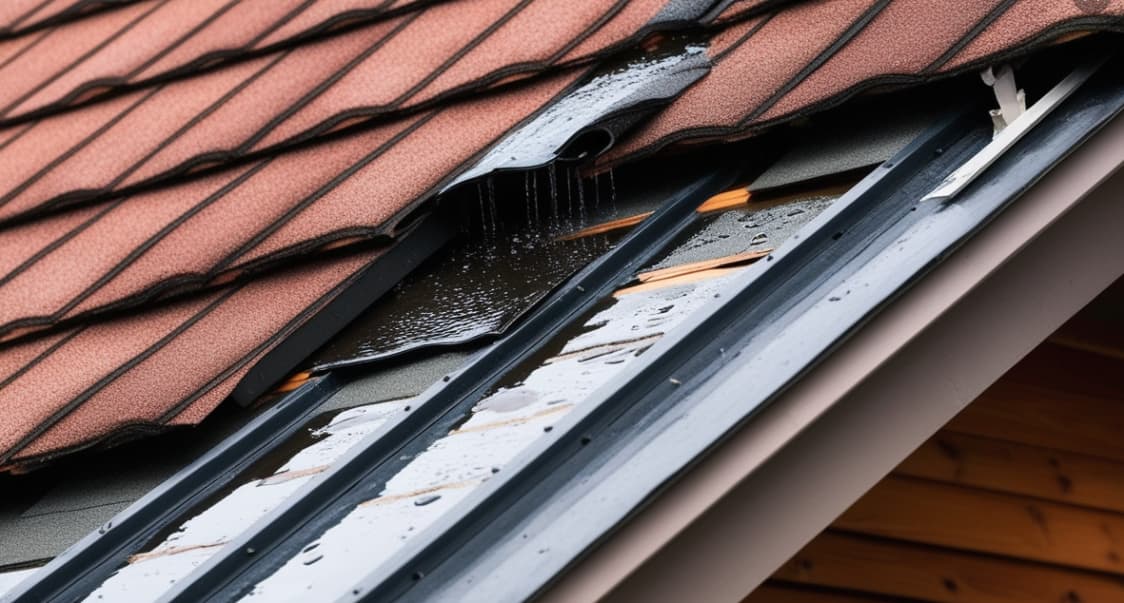
Spotting early signs of roof damage is crucial. This can save you from more extensive repairs down the line. Watch for common indicators of leaks, like water spots on ceilings, walls, or in the attic.
Additional warning signs include:
- Missing or Damaged Shingles: Weather often damages shingles, affecting your roof’s integrity.
- Loose Flashing: Flashing around chimneys or roof edges can loosen, letting water in.
- Dark Stains in the Attic: These can mean that water is seeping through, causing potential damage to your roof’s structure.
It’s worth noting that the visible damage on the ceiling may not be the actual source of the leak. Inspect your attic and follow water flow lines to trace back to the leak’s origin.
Mold growth is also a clear indicator of a hidden leak, and mold can be dangerous for your health.
3. Step-by-Step DIY Roof Repair Tips
Once you spot roof damage, here are some basic DIY repair techniques for common roof problems.
3.1. Replacing Damaged Roof Shingles
Shingle replacement is one of the more manageable repairs. High winds or hail can remove shingles, leaving gaps.
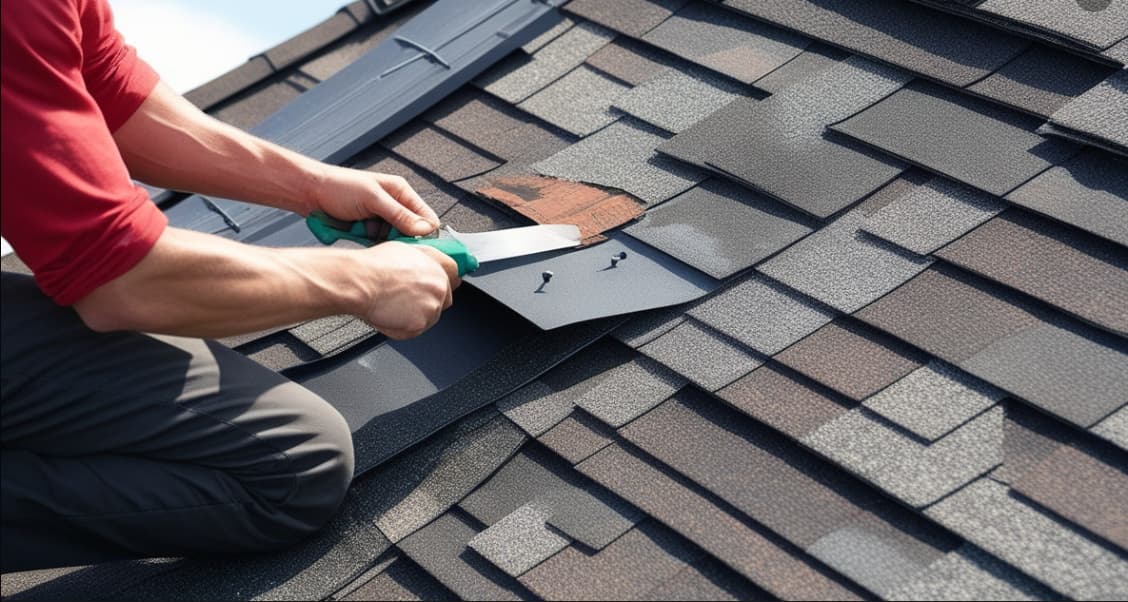
Steps to Replace a Shingle:
- Break the seal on the damaged shingle using a putty knife.
- Carefully remove nails and take out the shingle.
- Place a matching shingle, aligning it with surrounding shingles.
- Secure the new shingle with nails and roofing sealant.
Finding shingles that match your roof’s color will help keep your roof looking uniform. Shop for shingle options here.
3.2. Fixing Flashing Around Roof Features
Flashing prevents water from entering around roof penetrations like chimneys and skylights. Flashing replacement is more technical and best suited for someone with roofing experience.
Steps to Replace Flashing:
- Remove the old flashing and any surrounding shingles.
- Clear out old caulk or mortar.
- Install the new flashing and secure it with urethane roofing cement or silicone caulking.
If you’re unsure about replacing flashing, it may be best to call a professional. Explore professional flashing services here.
3.3. Patching Small Roof Leaks
For minor leaks, quick patching can prevent further damage.
Steps to Patch a Leak:
- Locate the leak in your attic.
- Apply roofing sealant to fill the gap.
- Ensure it’s fully sealed to prevent future water entry.
If you find multiple leaks, consulting a professional might be more efficient. Check out leak repair services to prevent ongoing issues.
4. Essential Tips for Safe DIY Roof Repairs
Safety is essential in any roof repair project. Use the following tips to stay safe while working on your roof.
4.1. Wear Appropriate Safety Gear
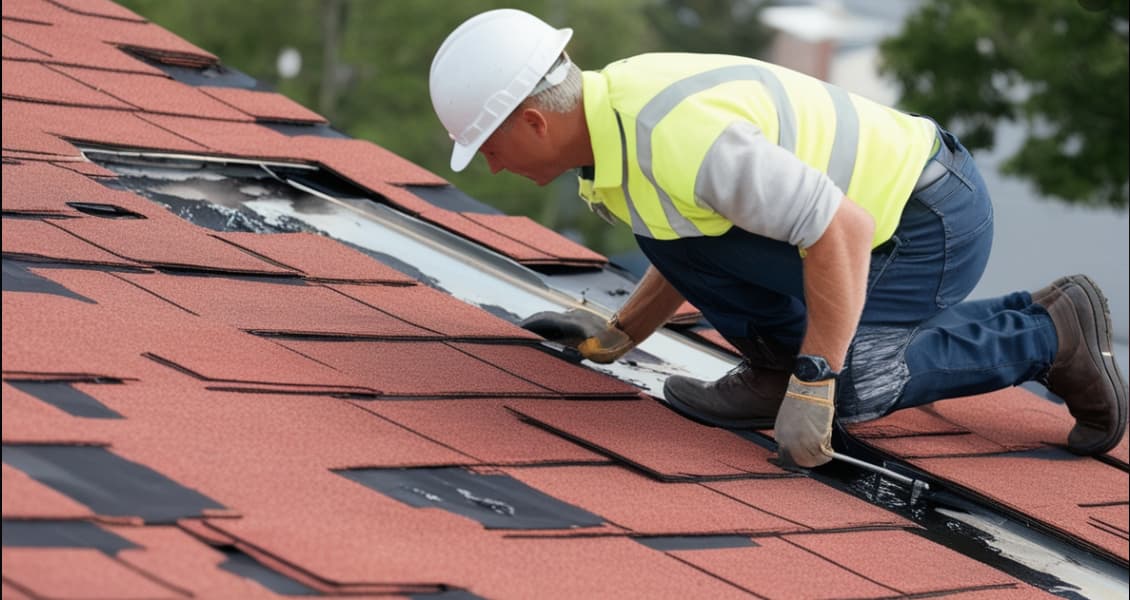
Wear long sleeves, long pants, and non-slip shoes to protect against cuts and exposure. Use safety goggles, thick gloves, and consider a roofing harness if the roof is steep.
4.2. Use Chalk Lines for Precision
Chalk lines help you align shingles precisely. This ensures that your repairs blend well with the rest of the roof.
4.3. Work with a Partner
Having a partner for your roof work is crucial for safety and efficiency. They can hand you tools or secure the ladder.
4.4. Invest in Quality Tools
Investing in quality tools, such as a pneumatic nail gun, can make your repair work quicker and more secure. Discover essential tools here.
5. When to Repair vs. Replace Your Roof
Deciding whether to repair or replace your roof depends on the extent of the damage and the roof’s age.
5.1. Age of the Roof
If your roof is nearing its lifespan (20–30 years for most materials), replacement may be more efficient than frequent repairs.
5.2. Frequent Leaks or Structural Issues
If you’re dealing with recurring leaks, this might indicate that the roof’s structure is compromised.
A roof replacement can save on ongoing repair costs in the long run. Explore replacement options here.
6. Knowing When to Call a Professional
DIY repairs are practical for minor issues, but more complex repairs require a professional.
6.1. Complex Repairs
Flashing repairs, extensive leaks, and structural repairs are best handled by roofing professionals. Improper repairs can lead to greater issues.
6.2. Benefits of Professional Help
Professional contractors bring the right tools and experience, ensuring repairs are durable and safe. Plus, they often offer warranties for added assurance.
If you’re uncertain about handling roof issues, reach out to a trusted roofing contractor. Explore roofing services here.
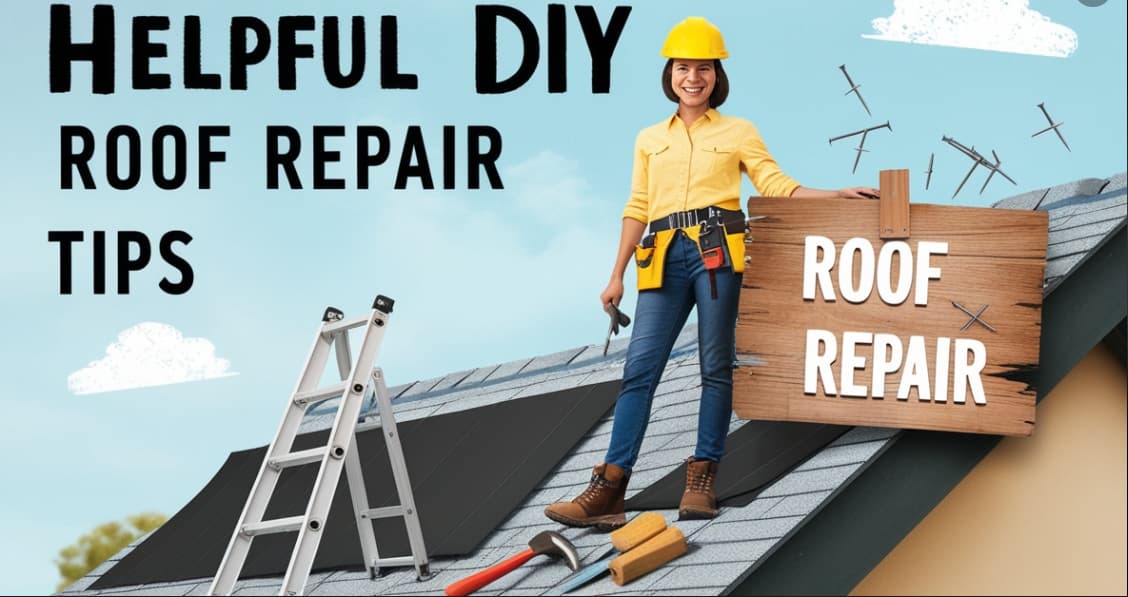
7. Helpful DIY Roof Repair Tips
To make your DIY repairs as effective and safe as possible, keep these extra tips in mind:
- Wear Protective Gear: Roofing can be risky. Protect yourself with gloves, goggles, and rubber-soled shoes.
- Use Chalk Lines: This helps with aligning new shingles accurately.
- Have a Partner: Having someone hold your ladder or hand tools can prevent accidents.
- Invest in Tools: Good tools, like a nail gun, can make your job easier and more secure.
- Inspect Flashing Regularly: Check around chimneys, skylights, and dormers for damage.
These practices make DIY repairs smoother and reduce risks. Shop for quality roofing tools.
Conclusion
DIY roof repair is an option for handling small issues and preventing extensive damage. By identifying early signs of roof damage and applying basic repair techniques, you can extend your roof’s life and save money.
But for large or complex issues, professional assistance is always the safest choice.
Have you tried a DIY roof repair before? Share your experience in the comments, and don’t forget to like and share this article!
Recent Posts
- Roof Ice Dam Removal: Act Now to Protect Your Home This Winter!
- Energy Efficient Roofing: Your Guide to Savings and Comfort
- Roof Repair Products: You Need to Fix Leaks Quickly
- Roof Repair: Quick Tips to Fix Common Issues
- Hip Roof Design: A Comprehensive Guide


