chimney
Chimney Flashing Repair : Your Quick Fix Guide
Jul
Chimney flashing serves as a critical protective barrier for where your chimney intersects with the roof, ensuring water doesn’t seep into your home. Comprising materials like metal or rubber.
It’s designed to prevent rainwater from entering, which could otherwise lead to significant damage like mold, rot, or structural weakening.
When properly installed and maintained, chimney flashing protects the integrity of both your chimney and roof, promoting their longevity.
However, even with the best installation, exposure to severe weather and gradual wear can compromise its effectiveness.
Ignoring the signs of flashing deterioration can lead to costly repairs. Thus, recognizing the early signs of damage, such as water stains or damp patches near the chimney area, is crucial for maintaining home safety and comfort.
Worried about chimney leaks? Learn how to fix them effectively. Discover more!
2. Immediate Steps After Detecting Damage
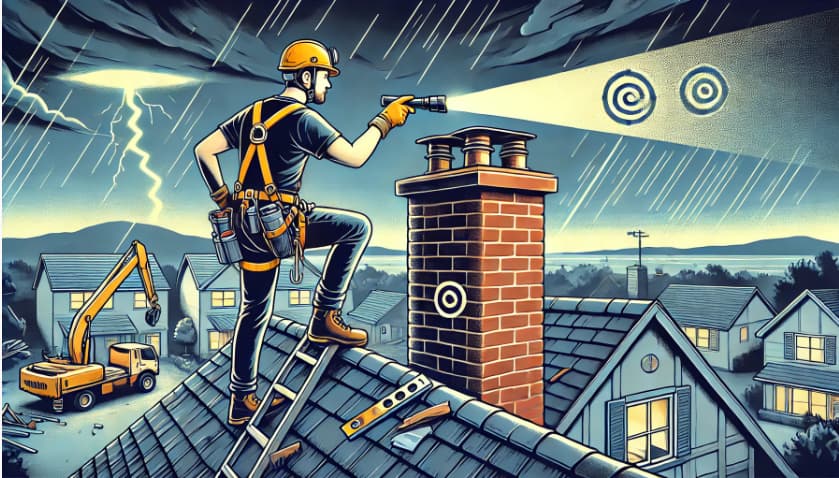
Identifying Signs of Damage:
The first step in addressing chimney flashing issues is to accurately identify signs of damage. Common indicators include:
- Water stains on ceilings or walls near the chimney.
- Obvious gaps or rust on the flashing.
- Loose sections of flashing, especially after heavy wind or rain.
Immediate Actions:
Upon noticing these signs, it’s essential to:
- Inspect the flashing for visible damage.
- Apply a temporary waterproof sealant if severe weather is forecasted soon.
- Contact a professional for a thorough assessment.
This initial response can prevent immediate water ingress and buy time for a more permanent solution.
Scheduling Professional Inspection:
Hiring a professional roofing contractor is vital for a detailed inspection. They can assess whether the damage is extensive enough to require complete replacement or if minor repairs will suffice.
Spotted a leak? Take action now and protect your home. Get expert advice!
By promptly addressing the signs of damage and engaging professional help, you can safeguard your home against the potential risks posed by faulty chimney flashing.
3. Understanding Types of Chimney Flashing Damage

Common Flashing Failures:
- Corrosion and Rust: Over time, metal flashing can corrode, especially in harsh weather, leading to holes and gaps.
- Physical Damage: Strong winds or falling debris can bend or dislodge flashing.
- Improper Installation: Incorrectly installed flashing can leave gaps or loose areas, failing to provide a watertight seal.
- Wear and Tear: Natural aging can cause materials to deteriorate, losing their effectiveness in waterproofing the chimney.
Recognizing these types can guide homeowners in seeking the right repair solutions to maintain their chimney’s integrity.
Is your chimney flashing in need of a check-up? Don’t wait for water damage to tell you. Schedule an inspection today!
4. Materials Needed for Chimney Flashing Repair
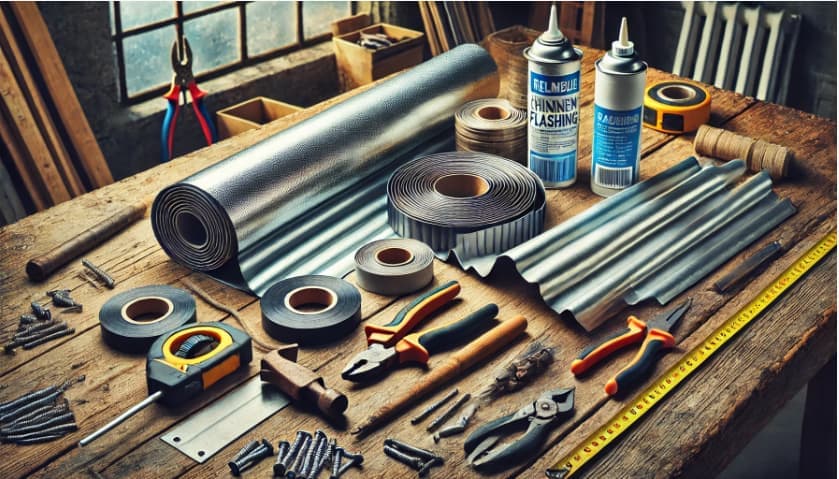
Essential Supplies:
- Flashing Material: Aluminum or copper sheets are commonly used for their durability and resistance to rust.
- Sealant: High-quality roofing sealant or caulk to seal joints and prevent leaks.
- Fasteners: Screws or nails appropriate for the flashing material to secure it to the roof.
- Tools: Tin snips for cutting metal, a caulking gun for applying sealant, and a hammer or drill for fasteners.
Having the correct materials ensures that repairs last, keeping your chimney and home protected from water ingress.
Ready to fix your chimney leaks? Get the best materials and guidance for a lasting solution. Learn more here.
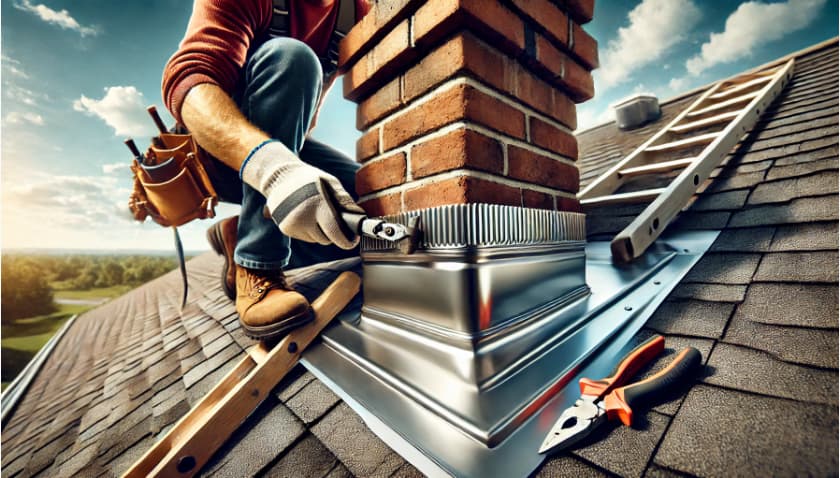
5. Step-by-Step Guide to Chimney Flashing Repair
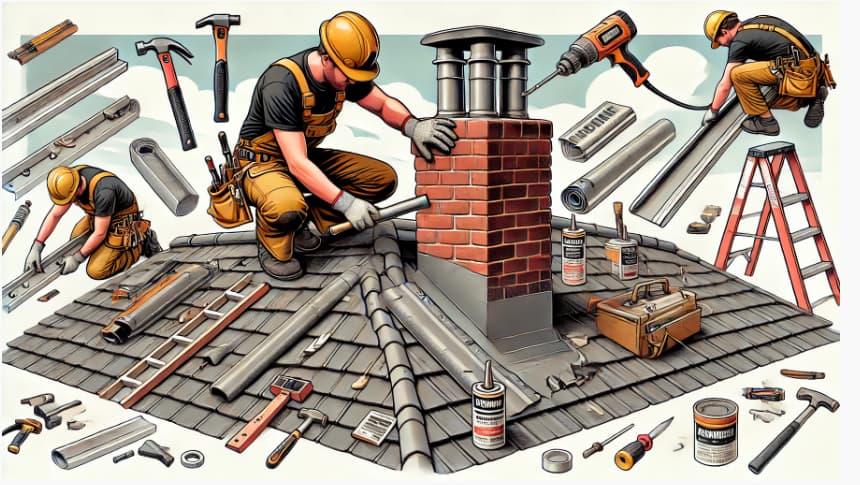
5.1 Preparation
- Safety First: Set up a sturdy ladder and wear safety gear, including gloves, goggles, and non-slip boots.
- Remove Old Flashing: Carefully pry off old flashing and clear any debris around the chimney base.
5.2 Installation
- Install Ice and Water Shield: Apply an ice and water shield around the chimney base to prevent future leaks.
- Base Flashing: Cut and install base flashing, ensuring it wraps around the chimney corners securely.
- Step Flashing: Place step flashing pieces under each shingle layer, ensuring they overlap and create a watertight seal.
- Counter Flashing: Install counter flashing over the step flashing and embed it into mortar joints for added stability.
- Seal Joints: Apply roofing cement or caulk to seal all joints and edges, ensuring no gaps remain.
Follow these steps for a watertight chimney. Need professional help? Contact us for expert chimney flashing repair.
6. Common Mistakes to Avoid During Repair

6.1 Inadequate Sealing
- Mistake: Not using enough sealant or applying it unevenly.
- Solution: Ensure an even, generous application of high-quality roofing cement or caulk to all joints.
6.2 Improper Overlapping
- Mistake: Incorrectly overlapping flashing pieces, leading to potential water ingress.
- Solution: Overlap each flashing piece correctly, with at least a 2-inch overlap to ensure watertight integrity.
6.3 Using Incorrect Materials
- Mistake: Using materials that are not suitable for your specific roof type.
- Solution: Use recommended materials such as aluminum or copper for durability and compatibility.
6.4 Neglecting to Replace All Damaged Components
- Mistake: Leaving some damaged flashing pieces in place.
- Solution: Replace all damaged flashing components to ensure complete protection.
Avoid common mistakes and ensure a perfect repair. Need advice? Talk to our roofing experts today!
7. Hiring a Professional for Chimney Flashing Repair

How to Choose the Right Contractor
- Credentials and Reviews: Ensure the contractor is licensed and check online reviews to gauge their reputation.
- Ask for References: Request and contact past clients to verify the quality of their work and reliability.
Questions to Ask Your Contractor
- Experience: Inquire about their experience with chimney flashing repairs specifically.
- Warranty and Guarantees: Confirm what warranties they offer on their work to protect your investment.
Need a professional? Find the best contractors for your chimney flashing repair. Find out how!
8. Costs of Chimney Flashing Repair
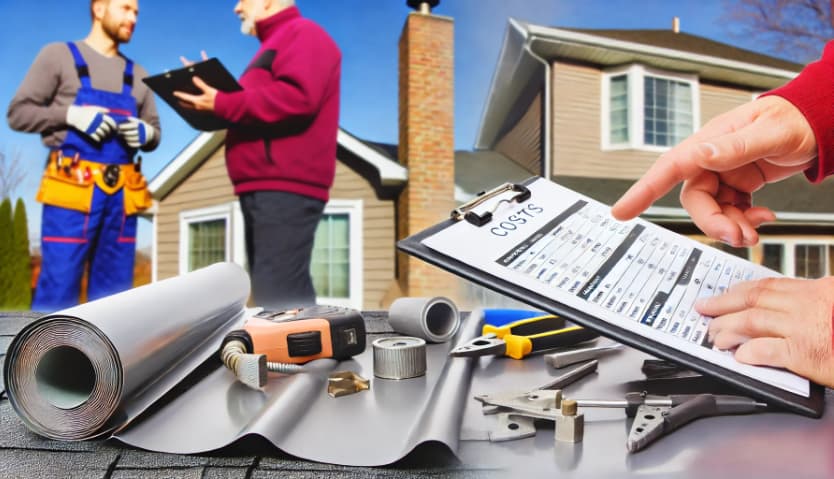
Factors Affecting Repair Costs
- Material Costs: The price of materials used for flashing like copper or aluminum.
- Labor Charges: Costs can vary based on the complexity of the job and the contractor’s expertise.
- Extent of Damage: More extensive damage can lead to higher costs due to more labor and materials.
Average Cost Estimates
- DIY vs. Professional Repair Costs: Understanding when it’s cost-effective to DIY versus hiring a professional.
Table: Estimated Costs for Various Flashing Materials and Repairs
| Type of Repair | Estimated Cost |
| DIY Flashing Repair | $100 – $200 |
| Professional Repair | $500 – $1,500 |
| Full Flashing Replacement | $1,000 – $2,500 |
Curious about repair costs? Get a detailed breakdown. Learn more!
9. Legal and Regulatory Considerations

Local Building Codes and Permits
- Compliance: It’s crucial to adhere to local building codes, which vary by location and ensure the structural safety of construction work.
- Updates: Codes are updated periodically; ensure you’re working with the most current requirements.
Role of the Contractor in Managing Permits
- Responsibility: Your contractor should be responsible for obtaining all necessary permits. This ensures that the repair work is legal and up to code.
- Expertise: Experienced contractors understand local regulations and can navigate the permit process efficiently.
Stay compliant with local regulations. Find out how!
Conclusion
Chimney flashing repair is vital to protect your home from water damage and preserve its structural integrity.Proactive maintenance and timely intervention prevent extensive and expensive repairs.
Regular checks and addressing issues early can extend the life of your chimney and roofing system, safeguarding your home against potential damage and ensuring peace of mind.
Ready to secure your home? Start your chimney flashing repair today. Get started!
Recent Posts
Thatched Roofing: Embracing Eco-Friendly Tradition
Emergency Roof Leak Repair : Quick Protection Tips
Roof Leak Repair: Quick Guide to Protect Your Home
Fibreglass Roofing: Unlocking Durability and Style
Roof Replacement Essentials: Protect Your Home