Repair
Wind Damage Repair: Essential Steps and Costs
Storms can cause major disruptions, affecting everything from your furniture to your insurance claim. Knowing how to tackle wind damage repair is crucial to restore your home quickly and minimize long-term effects.
Wind damage repair covers the critical steps to take after a storm, from evaluating structural integrity to managing insurance claims. This guide explores everything you need to know, so let’s dive into the essential steps.
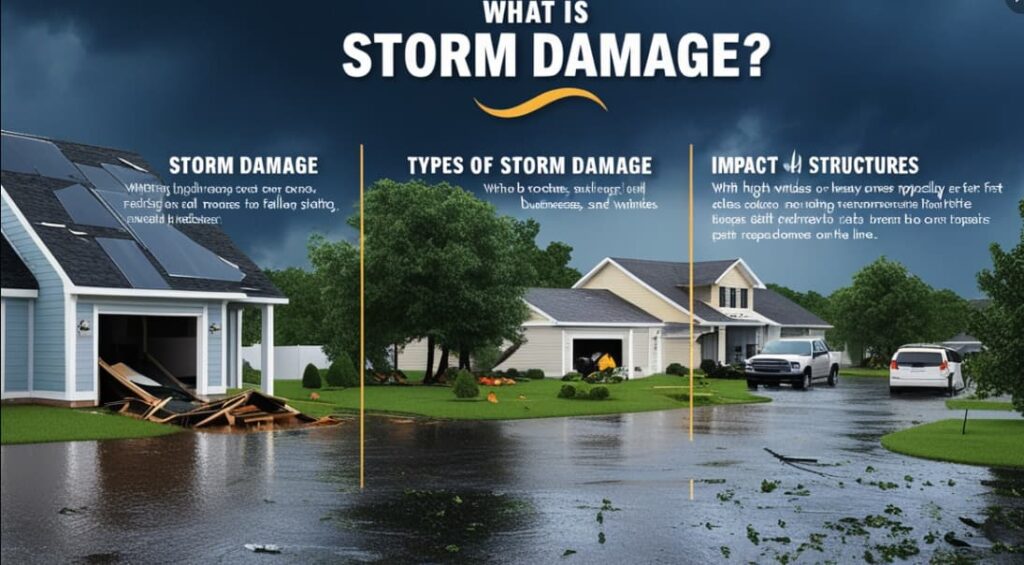
1. What Is Storm Damage?
Storm damage refers to any harm caused by intense weather, like hurricanes, hail, or strong winds, impacting homes, businesses, and even vehicles.
- Types of Storm Damage: Storm damage can be diverse, from broken windows and roofing damage to fallen trees and flooded basements.
- Impact on Structures: With high winds or heavy rains, roofing and siding are typically the first areas affected. Assessing this damage early can save on costly repairs down the line.
Tip: Contact your insurance provider as soon as possible if your home suffers storm damage.
2. Inspecting Your Home for Storm Damage
Conducting a thorough home inspection is crucial after a storm. Here are key areas to check:
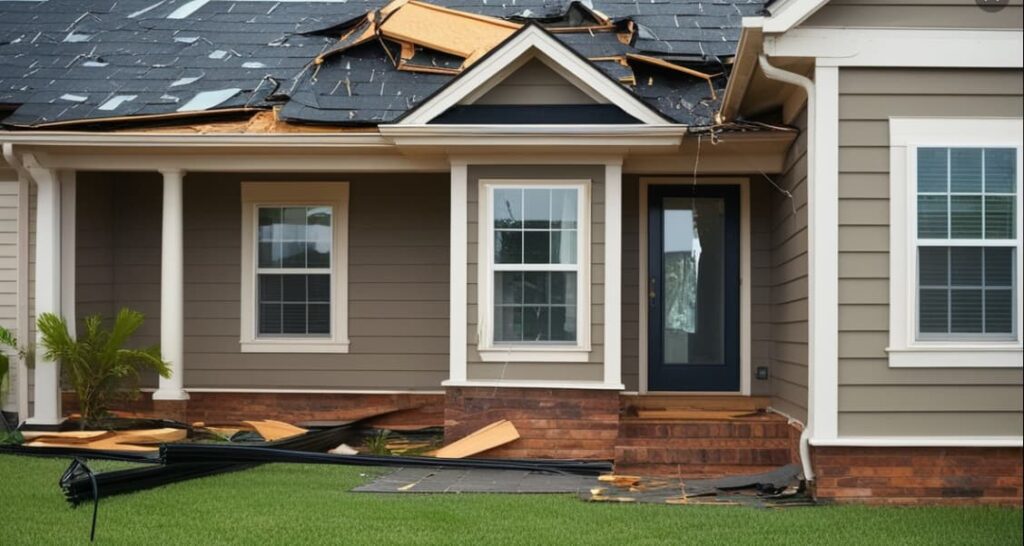
- Roof Damage: Missing shingles, visible leaks, and dented metal elements can indicate roof damage.
- Windows and Doors: Look for cracks, broken panes, and compromised seals.
- Siding and Exterior Walls: Check for dings, dents, and chips, as these may worsen over time if untreated.
Safety First: Stay alert to hazards such as downed power lines, broken glass, and exposed nails.
3. Signs of Wind Damage on Roofs and Exteriors
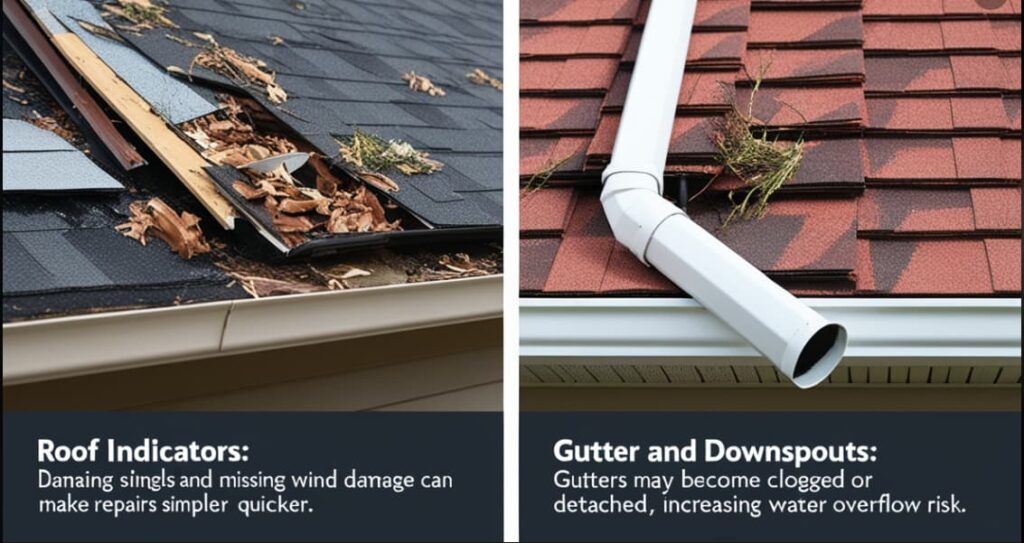
Identifying early signs of wind damage can make repairs simpler and quicker:
- Roof Indicators: Damaged shingles, missing tiles, and accumulated debris.
- Gutter and Downspouts: Gutters may become clogged or detached, increasing water overflow risk.
- Windows and Doors: Look for cracks and loose seals around frames. Protect Your Roof with Quality Shingles and Fasteners – Explore Options Here
4. Documenting Damage for Insurance Claims
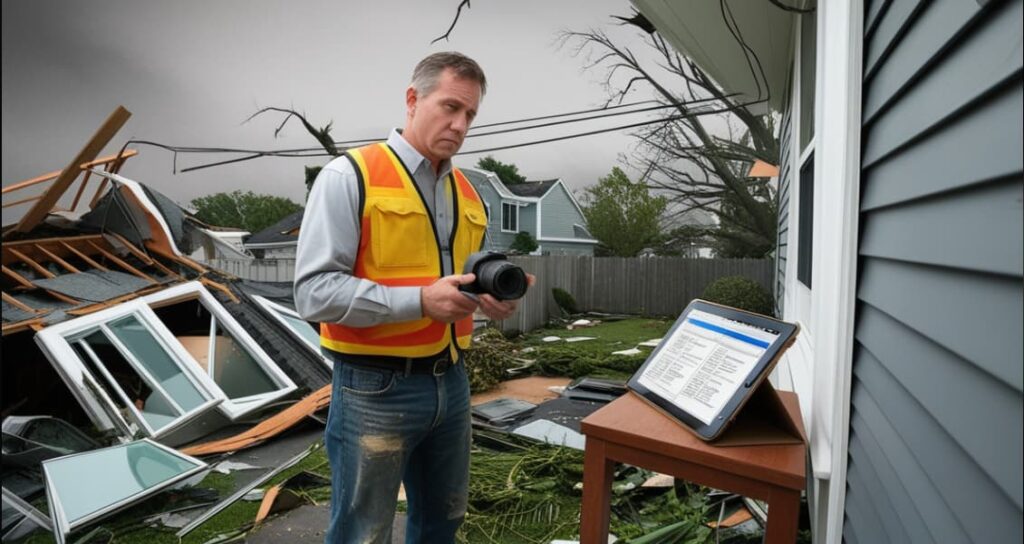
Proper documentation is essential when filing an insurance claim for storm damage:
- Photographs and Videos: Capture clear images of affected areas before any repairs.
- Detailed Notes: List affected areas, including room-by-room descriptions if there’s indoor damage.
- Collect Receipts: Any expenses for temporary repairs, boarding windows, or emergency housing should be saved.
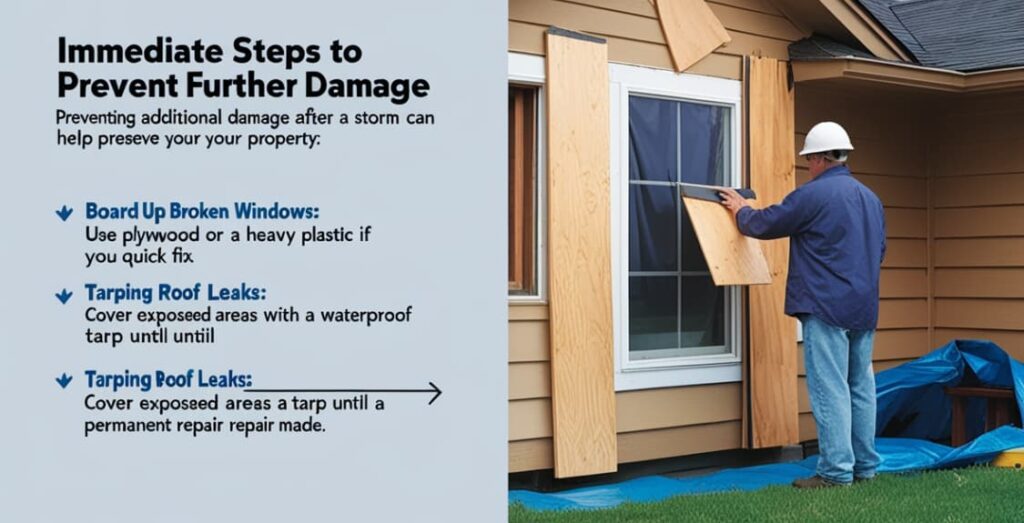
5. Immediate Steps to Prevent Further Damage
Preventing additional damage after a storm can help preserve your property:
- Board Up Broken Windows: Use plywood or heavy plastic if you need a quick fix.
- Tarping Roof Leaks: Cover exposed areas with a waterproof tarp until a permanent repair is made.
- Turn Off Power: If flooding occurred, turn off power to prevent electrical hazards. Shop Essential Roof Repair Tarps Here
6. Choosing a Reliable Contractor for Storm Repairs
Selecting the right contractor can make a big difference in your repair experience:
- Licensed and Insured: Verify that the contractor is certified and has proper insurance coverage.
- Local Reputation: A contractor with experience in your area may offer faster service.
- Detailed Quotes: Get multiple estimates to understand cost breakdowns. Find Trusted Roof Repair Contractors Near You
7. Understanding Wind Damage Repair Costs
Storm damage repair costs vary based on location, extent of damage, and repair needs. Here’s an overview:
| Type of Repair | Typical Cost Range |
| Minor Roof Repair | $400 – $1,900 |
| Full Roof Replacement | $5,900 – $13,000 |
| Window Replacement | $175 – $1,800 per window |
| Gutter Repair | $180 – $1,750 |
| Siding Repair | $400 – $1,450 |
Factors such as location and type of storm (hail vs. wind) also play a role in pricing.
8. Working with Insurance for Storm Damage Repair
When working with insurance, keep these tips in mind:
- Understand Your Policy: Know your coverage details before disaster strikes.
- Prompt Filing: File a claim as soon as you assess the damage.
- Work with Adjusters: Be prepared to provide photos, receipts, and detailed descriptions to your adjuster.
9. DIY Repairs vs. Professional Help
For minor fixes, DIY can be a cost-effective approach. However, certain cases require professional expertise:
- DIY Roof Patch: For minor shingle damage, a quick patch-up can be done yourself.
- Broken Windows: Temporarily board up windows, but professional replacement is best for long-term durability.
- Water Damage and Mold: Always rely on professionals if water damage has led to mold. Shop Quality DIY Roofing Kits for Small Repairs
10. Preventing Future Storm Damage
Strengthen your home to withstand future storms by implementing these preventive measures:
- Roof Inspection: Regular inspections can spot issues before they become serious problems.
- Gutter Maintenance: Clean gutters reduce water damage risks.
- Install Storm Shutters: Protects windows from high winds and debris.
Conclusion
Handling wind damage repair may seem overwhelming, but following these steps can make the process smoother and more manageable.
From inspecting damage and documenting it for insurance claims to choosing the right contractor, every step contributes to efficient recovery.
Remember, taking preventive measures can save you money in the long run. Have you experienced wind damage? Share your thoughts in the comments, and don’t forget to like, share, and save this guide for future reference!
Recent Posts
- Hail Damage Assessment: A Step-By-Step Guide for Homeowners
- DIY Roof Repair Tips: Stop Leaks Fast and Save!
- Roof Ice Dam Removal: Act Now to Protect Your Home This Winter!
- Energy Efficient Roofing: Your Guide to Savings and Comfort
- Roof Repair Products: You Need to Fix Leaks Quickly






Hello. Great job. I did not anticipate this. This is a fantastic story. Thanks!